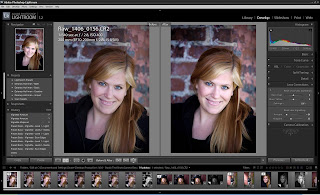
We were working with some off camera flashes balanced with natural light. I’ll try to do a post on that shoot another time, but I had some of the images in Lightroom, so let’s take a look at what I’d do with an image we made.
To correct density for an image, what we’ve found works for us is to first set the exposure to the point where the image shows some true whites in it, then set the shadows to set the black point and then use the brightness slider to set our mid-tones.
Depending on the image, we want to see true whites and true blacks and nice middle tone details. For instance, if we have a groom in a black tux, we want to see his teeth as white and his tux should have parts on it that are truly black.
To do that, we first use the “Exposure” slider to set our “white point.” We will move it up and watch it until it shows that some of the white pixels on the image are “blown out”. Pixels have a britness setting from 0-255. When they reach 255 they are as bright as they can go. We like to see some pixels that barely reach 255. Maybe they are 250 or 253.
Then we will back it off a little until they are right at the brink of being blown out. The image looks like this:

Then we will do the same thing for the “Blacks” in an image. We want to see some true blacks “0” in the shadows. This is especially nice if you can get it in the subjects hair. Be careful not to lose all the shadow detail in the image.

Then, we’ll bring our brightness down to the point where we have pleasing mid-tones and we’ll set the color tempature, saturation and vibrance to get the images color where we want it:

The Lens correction dialog is very useful in creating vignettes that focus the attention on our main subject by applying a dark vignette around our subject:

And finally, we’ll zoom all the way in and make our sharpening selection.

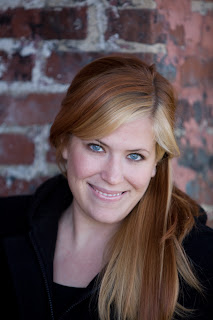
And in the end we have a much more pleasing image:
Straight Out of the Camera:

After Lightroom:

No comments:
Post a Comment